| 2/27/99 - Read the text, this page
takes time to load. |
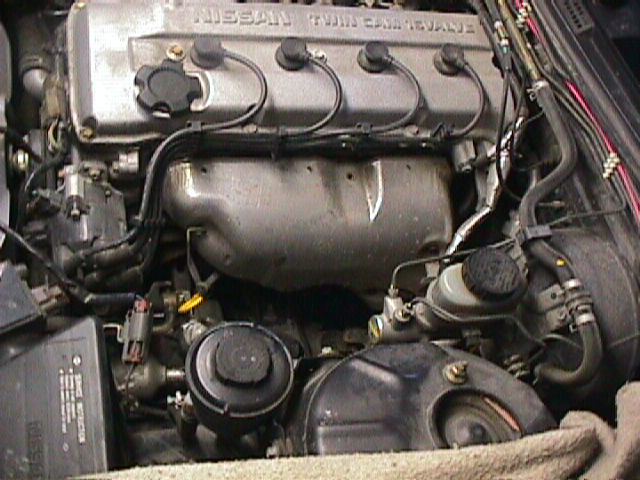
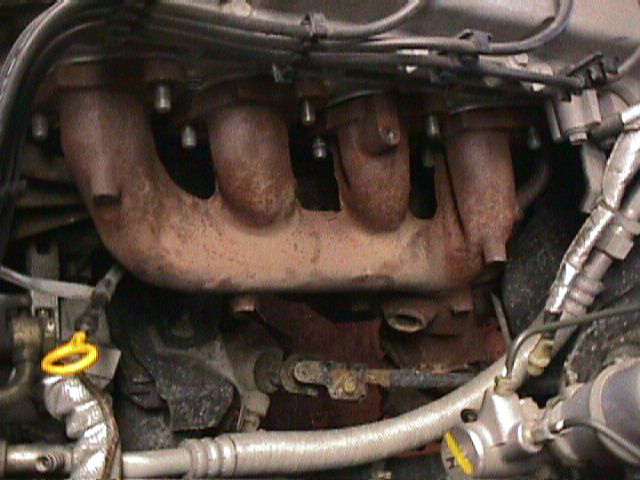
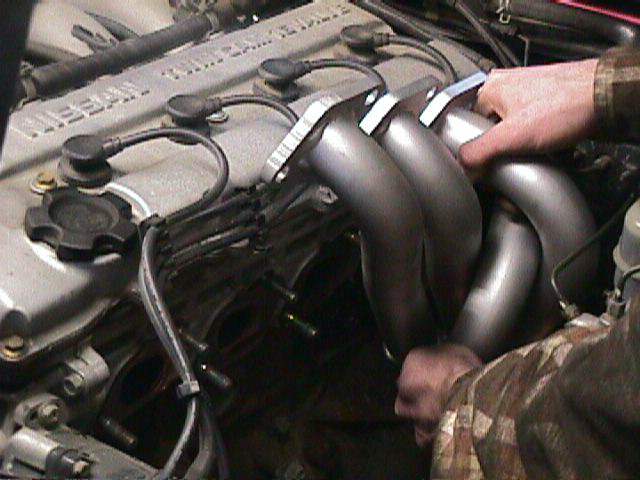
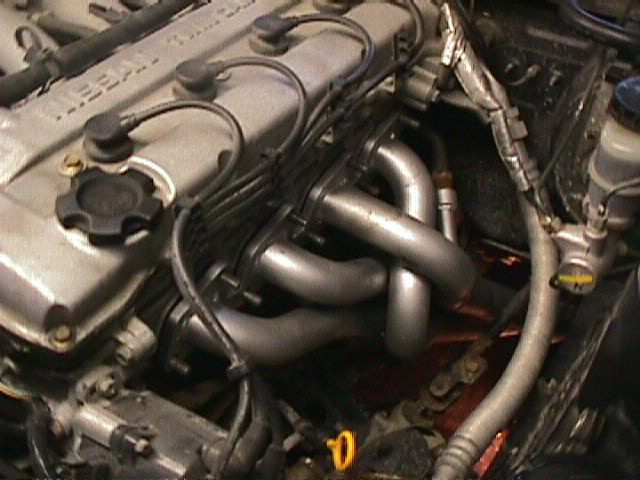
| I'll give Hotshot some credit, the
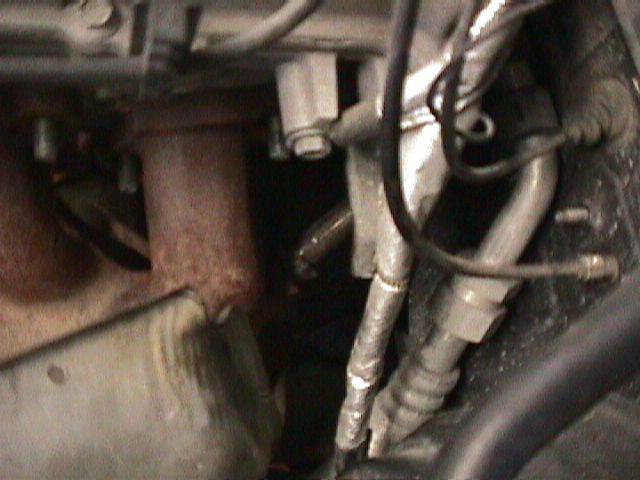
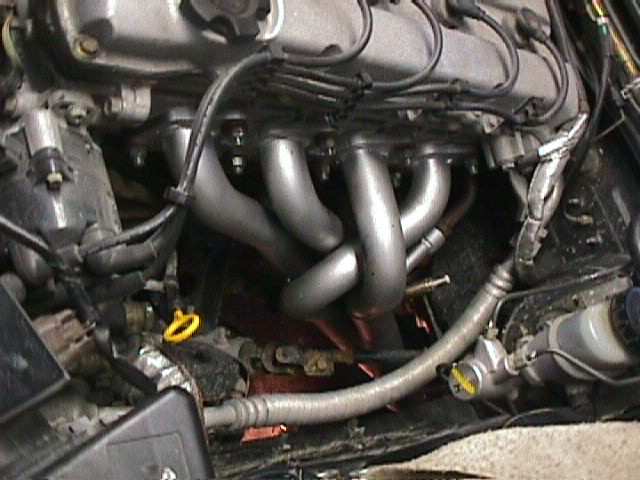
header fits fairly well when you get it into position. The EGR tube lined up perfectly,
and the port for the first O2 sensor was well placed, and was the correct size and
thread. Getting the Header to swing in between the edge of the bell housing,
and the steering linkage was a little tough, but I think it would have been much easier to
remove the steering coupler and the header would have went right in to place. The
header does rest against the bellhousing a bit on my 1995, causing a rattle from time to
time, I had to place some header wrap between the header and the bellhousing to quiet it. |
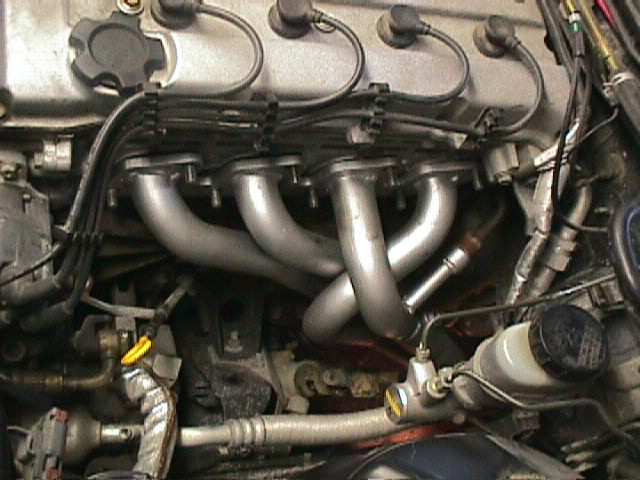
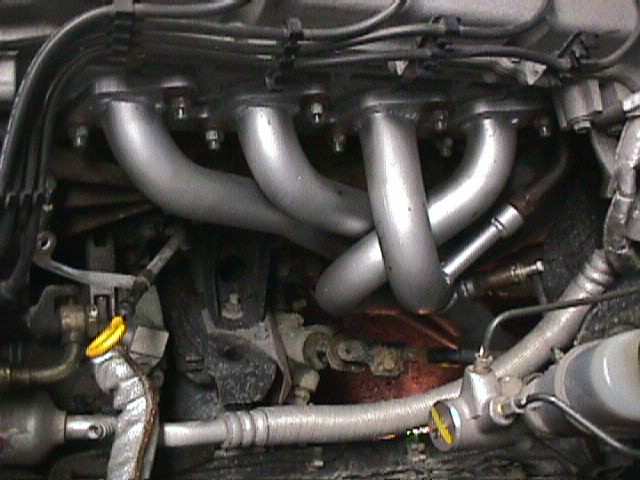
| Problem One:
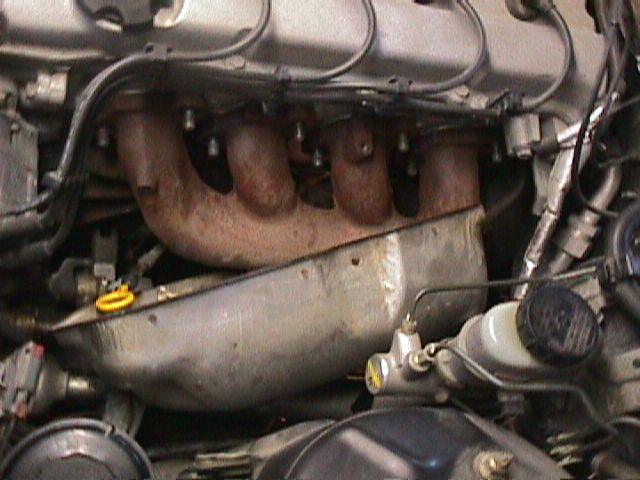
Once the header was in position, I noticed that the holes in the flange (head to header)
don't quite line up perfectly. After some wrestling with it, I decided that the best way
to fix it would have been to pull the header back out, and open the holes up in the
flange. Instead, I carefully got the header in place and pulled it on to the studs with
the exhaust nuts. This worked really easily once I got them all started. Next part is
the secondary piping between the header and the cat. |
| Problem Two:
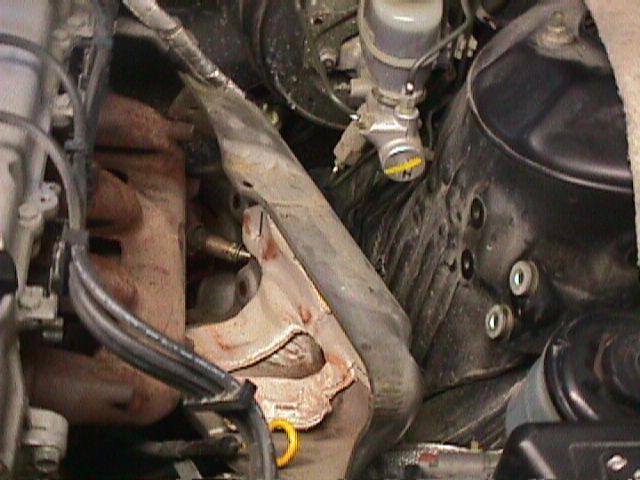
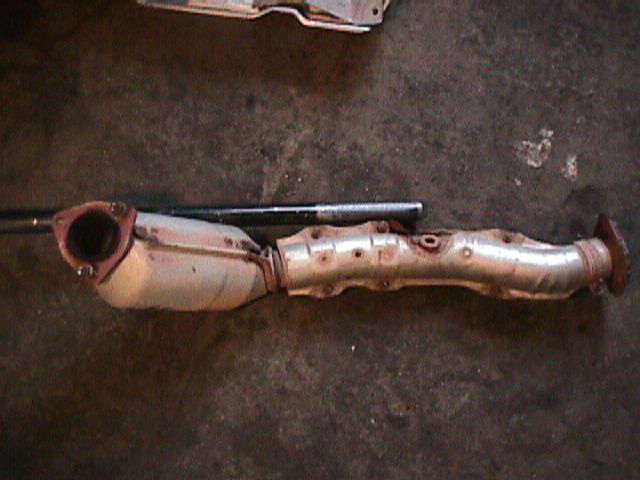
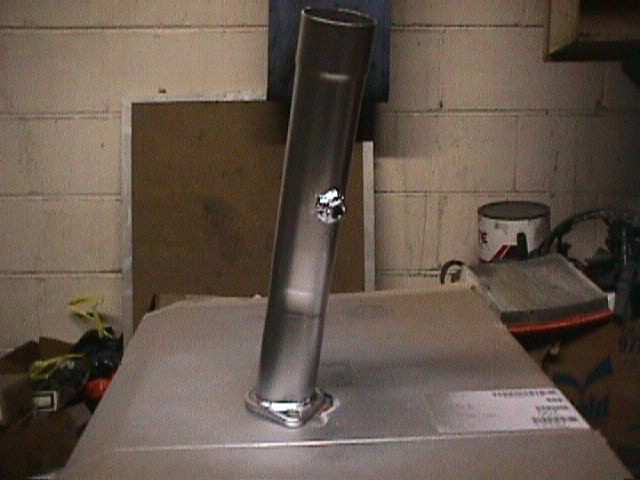
Here is where I had the most problems with this install. The header and the secondary pipe
each have a mount on them to pull the two pipes together. The mount is only on one
side, therefore we all know it will not pull the two together straight and the bolt they
give you is insanely too short. I ended up tapping the flange which connects to
the cat until the pipe was seated over the header pipe, then bolted it together. |
| Problem Three:
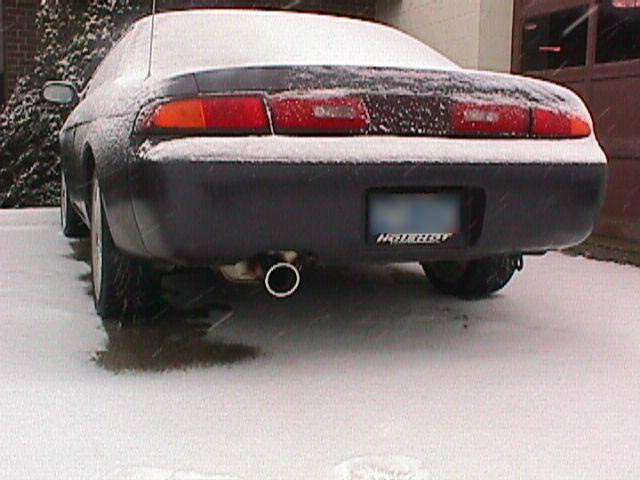
I had a friend align the rear tips on the muffler to see if the holes in the secondary
piping flange will line-up with the tapped holes on the cat, and they do not. The
two mounts on the header pipe and the secondary pipe are pretty far off. I removed
the secondary pipe, and re-aligned it and the bolt to hold the header to the secondary
pipe *just* fits now |
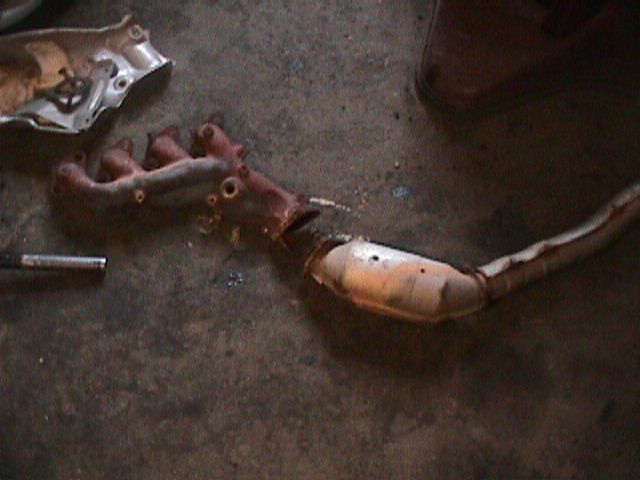
| Problem Four:
The secondary pipe is larger than the stock exhaust, so the stock bracket that mounts in
front of the cat needs some trimming/grinding to fit properly and this was pretty easy. Ok
now everything is bolted in place ready to install the second O2 sensor, and of course,
the hole in the secondary pipe is the same size as the hole for the first O2 sensor which
is bad news considering that the second O2 sensor is much smaller (12mm x 1.25tp). I
ground down the original fitting and welded a 12mmx1.25 nut in its place, and threaded the
O2 sensor right in. |
| Final Review:
Now, the install is complete, and the car starts up and sounds good and I don't seem to
have any problems. After driving the car a bit I have noticed that the car has lost
some low end torque (This was with the automatic, the losses are unnoticable with the 5
speed). The gains above 4000 RPM are pretty good, the car pulls much harder in the
upper end. Fuel economy was not negatively affected. One note though: The object
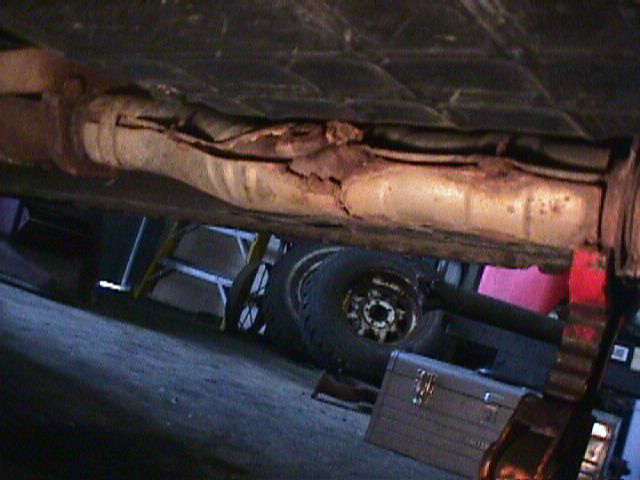
which resembles the second catylitic converter is actually fake. After I pulled down
the exhaust, I examined the second Cat and found that it is completely hollow. All
the emmissions correcting is done in the secondary pipe which is originally connected to
the stock exhaust manifold. For those of you who are dealing with emmissions
testing, beware! The only other problem is the fact that you will get a Check
Engine light with code 72 which is the code for Primary Catylist failure. Hotshot said
they were correcting the problem with the O2 sensor size in the secondary port. One
other problem is the coating seems to be poor quality, as the header is showing signs of
rust. |
