Clutch and Flywheel Swap
| Steve
([email protected]) and me
(Shawn) did a clutch swap on both our cars on the 4th of July 2001, took
us a good amount of time, never seen the fireworks that night, but hey, we
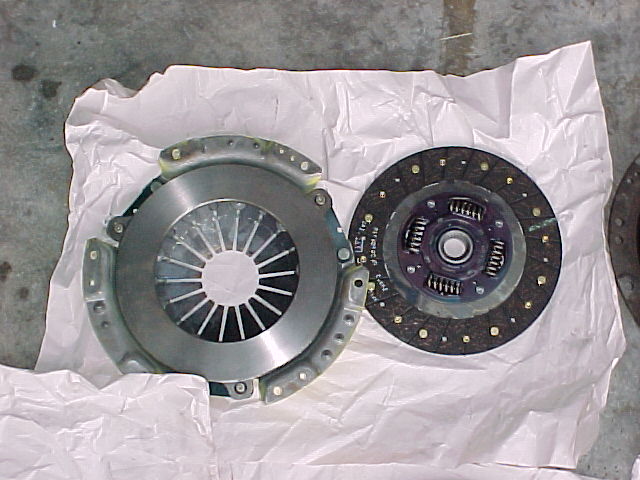
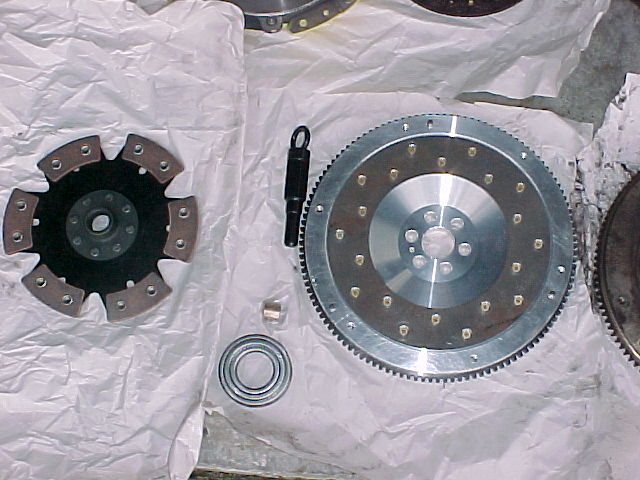
can both chirp 3rd now :) Steve's is a 1992 240sx Naturally Aspirated KA24DE putting in a Act Street Clutch and a Fidanza 11lb flywheel (after the steel plate) and Shawn's is a 1995 240sx-t KA24DET with a t3/t4 w/15lbs putting in a Act Race Clutch, 6 puck unsprung (aka chattering bastard), and the Fidanza 11lb flywheel. Btw - Stock flywheels are 22-23 lbs |
Click on images to enlarge! |
| 1) If available, read service manual for specs and tools needed. |
 |
| 2) Disconnect battery terminals | |
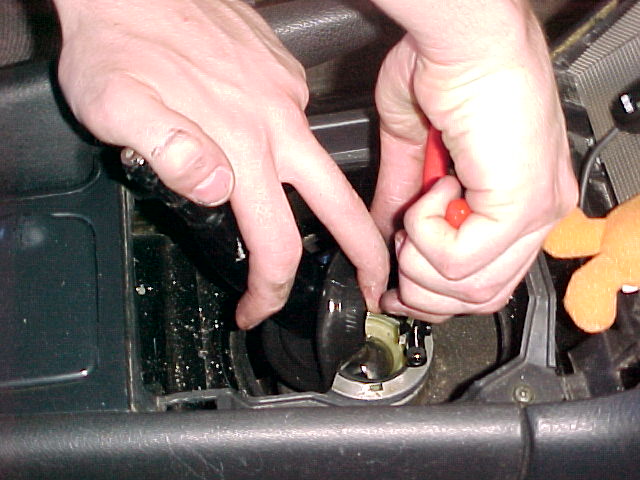
| 3) Remove shifter |
 |
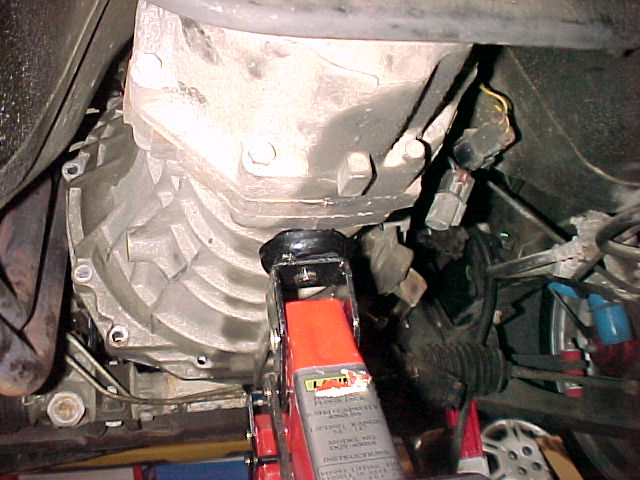
| 4) Jack up car so the 4 tires are off the ground and try to get it high as possible in order to pull the transmission out from under the car; shake to ensure safety. |
 |
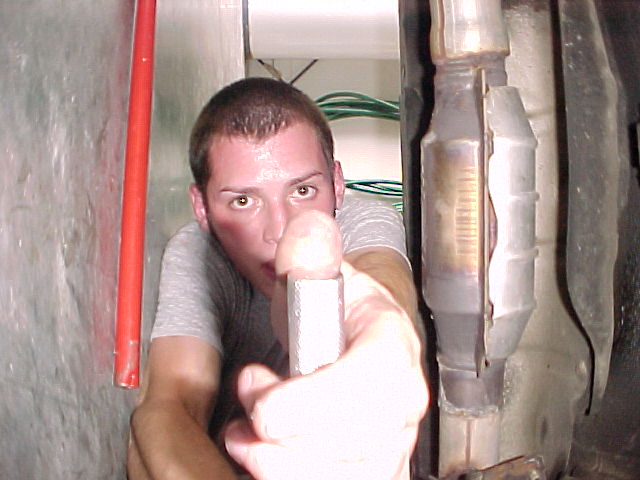
| 5) Some
applications you may have to remove the exhaust. - Shot of the ever so
concentrated Steven doing who knows what with what... after we took the
pic, we looked in confusion, so we had to include it in the install. - Nice shot Steve! |
 |
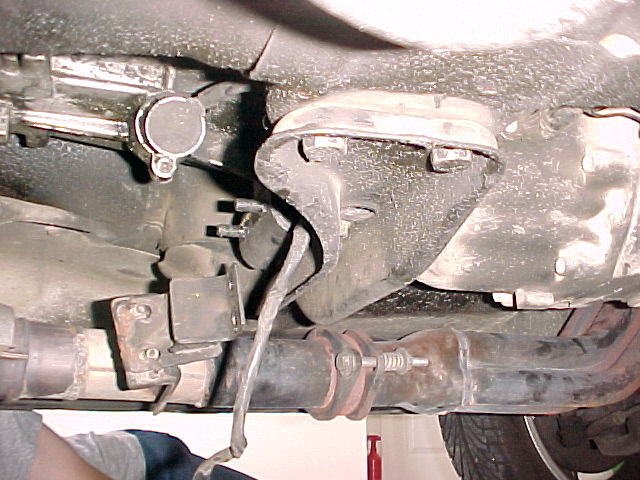
| 6) Drain transmission oil. | |
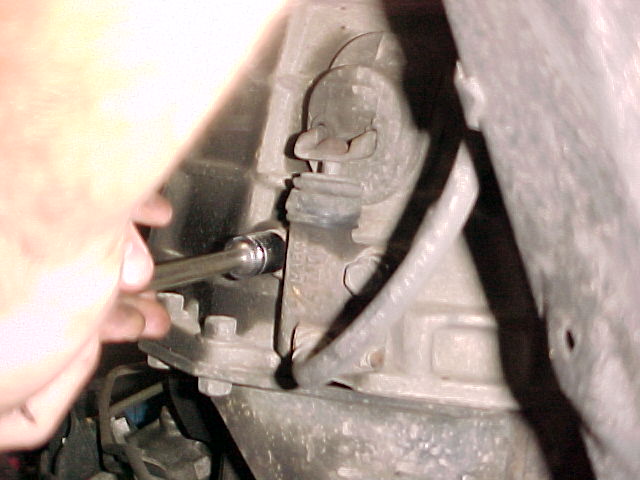
| 7) Remove driveshaft by unbolting it after the driveshaft support; then pull out of transmission. |
 |
| 8) Remove slave cylinder from transmission and support it so that the hose does not tear. |
 |
| 9) Remove all wiring from the transmission (harness unplug) | |
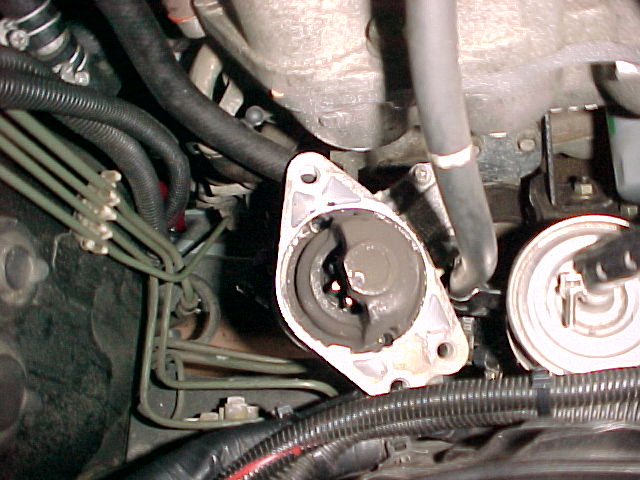
| 10) Remove starter and support. |
 |
| 11) Support transmission with floor jacks; one on the bell housing side and one on the driveshaft side. |
 |
| 12) Unbolt transmission (if s14; remove crank angle sensor located at top of bell housing). | |
| 13) Also unbolt rear transmission mount. |
 |
| 14) Now the tranny is ready to be pulled. You must grasp the tranny from bell housing and driveshaft side and pull it toward the back of the car (use 2 people at least, this will be quite heavy). |
 |
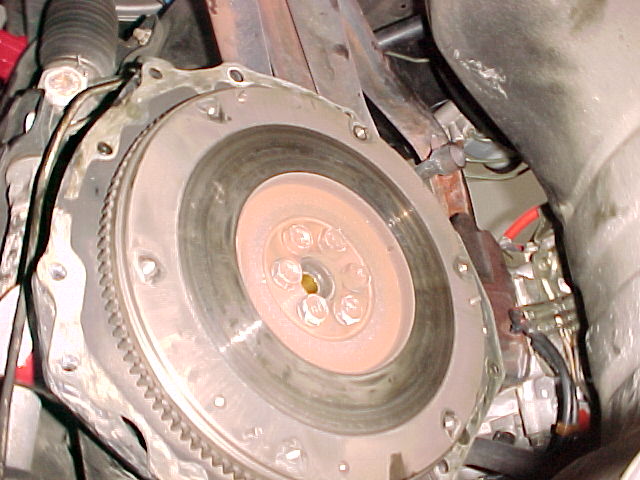
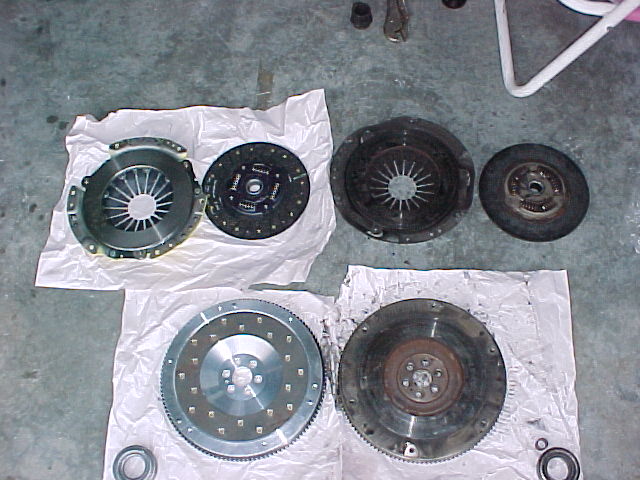
| 15) After transmission is removed, remove the pressure plate unbolting in a sequence directly across from opposite bolt (there is tension on the pressure plate). |
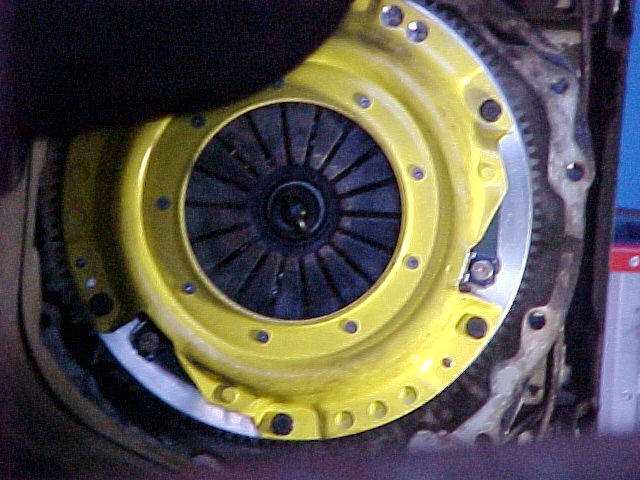 |
| 16) Clutch disc will fall out when pressure plate is pulled off. |
 |
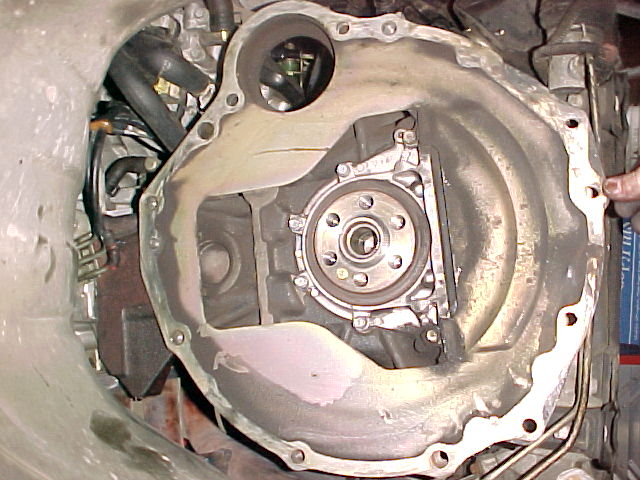
| 17) Remove flywheel; if using the same flywheel, be sure to resurface. |
 |
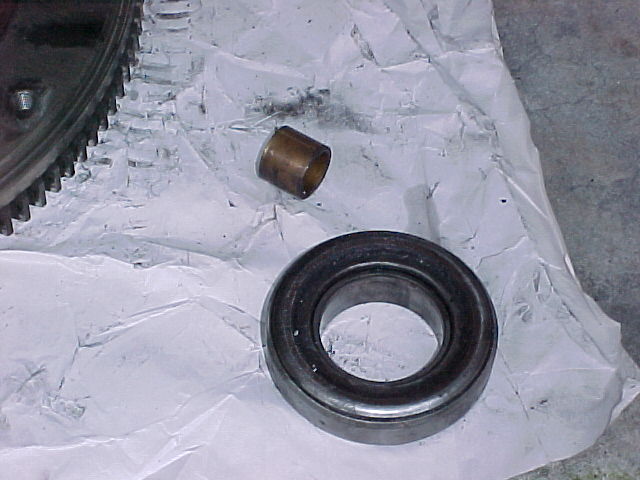
| 18) Remove pilot bushing inside crankshaft. |
 |
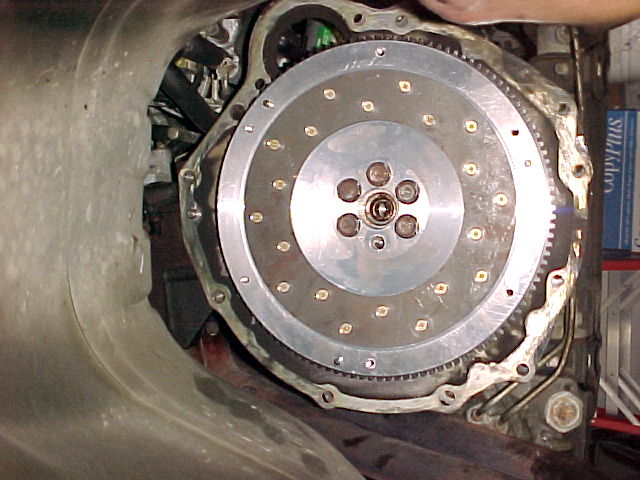
| 19) Replace pilot bushing with new one. | |
| 20) Put back the resurfaced or new flywheel; be sure to torque at 105ft/lbs in sequence. |
 |
| 21) Install new clutch disc with alignment tool. |
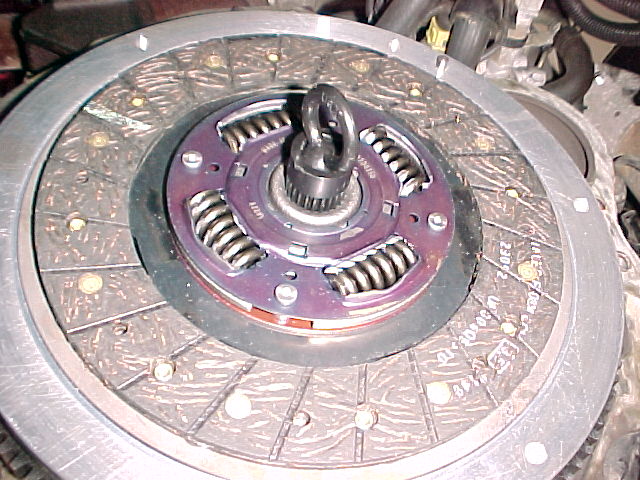 |
| 22) Install pressure plate over the suspended disc; Tighten the bolt slowly, more and more (1-2 turns each bolt) in sequence. |
|
| 23) When pressure plate is flush be sure to torque at 22 ft/lbs. | |
| 24) Remove alignment tool. | |
| 25) On tranny, remove the old throw out bearing and replace with new one. |
 |
| 26) Now the tranny is ready to be installed. You must grasp the tranny from the bell housing and drive side, lift it up/towards the front of the motor. | |
| 27) Be sure to align the tranny input shaft with pressure plate/clutch plate. | |
| 28) Then reinstall all the bolts, wiring, starter, slave cylinder, tranny mount, etc. | |
| 29) Make sure you fill your tranny up with gear oil, easiest way to do this is through the shifter hole. Approx 2.5 – 2.8 quarts. |
 |
| 30) Break in period is about 500 miles of soft clutch engagement. | |
| Afterthoughts: | |
| Steve - After installing the Fidanza Flywheel with the Act Street Clutch and pressure plate, I found a better throttle response and better mid-range and top-range. A slight loss on the lower-end b/c of the lightened flywheel. Also an improved handling because of the inertia. The act street has a slight chatter but good firm grip. |
 |
| Shawn - I also felt a great improvement with the flywheel, it eliminated my spool-up lag in the KA24DET. Handing is at its finest. The Act Race clutch (6 puck unsprung) gives a strong chatter but the clutch held the power I was producing under 15lbs, unlike the street disc. |
 |