|
Phil's Install of a AEM 240sx Intake System On a 97 240sx
Notes: Click the
pictures to enlarge, and yellow * is to denote something |
|
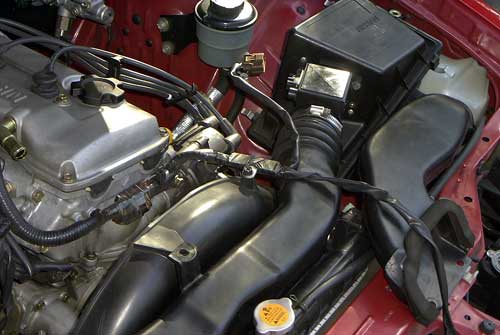
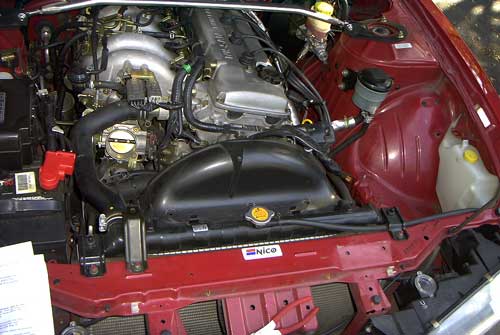
| The Car: The Intake: |
97 240sx Aem Short Ram Intake System |
| Removing old intake | |
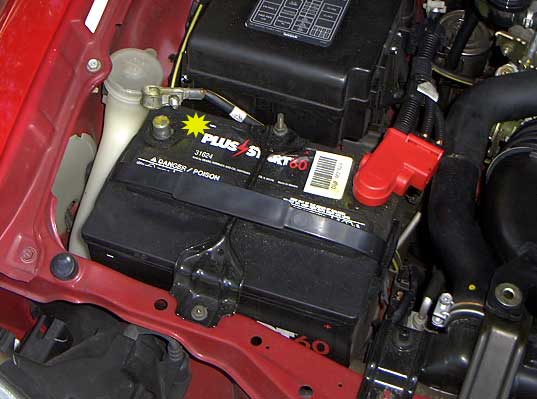
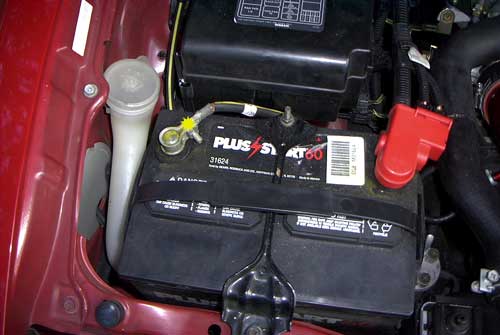
| 1) First disconnect negative battery terminal and let your car cool down |
 |
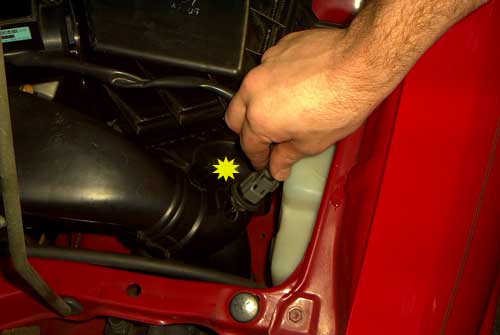
| 2) Unplug the MAS and the IAT sensor connectors |
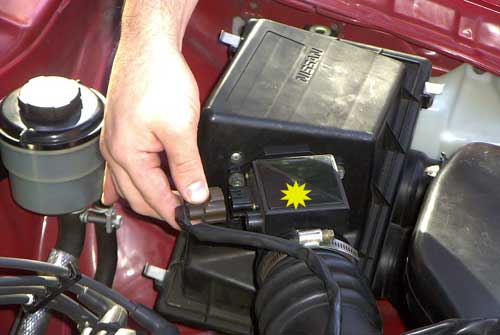 |
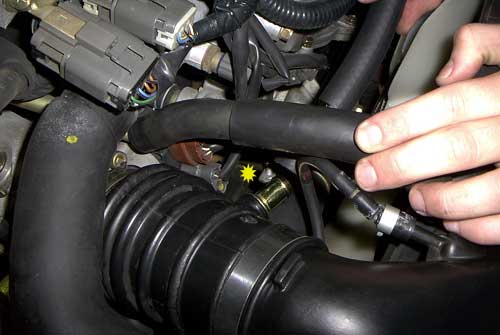
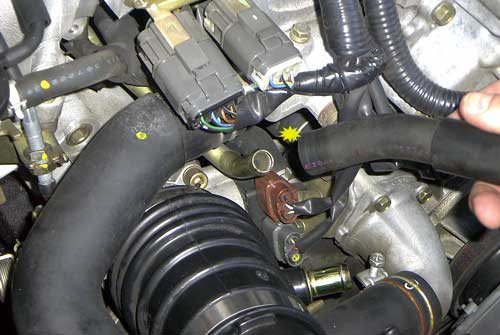
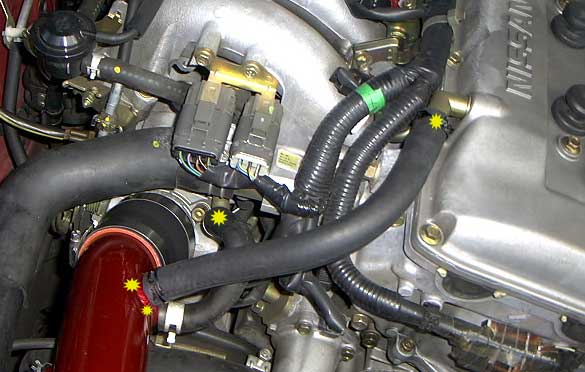
| 3) Disconnect and remove the large lower breather tube and the small breather hose from the rubber connector on the intake tube |
|
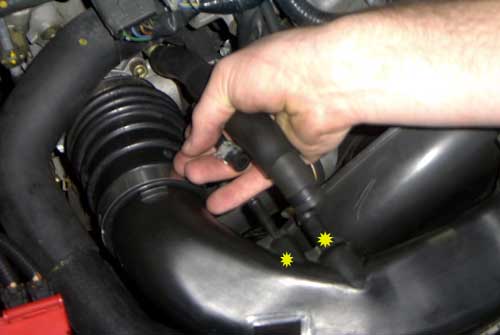
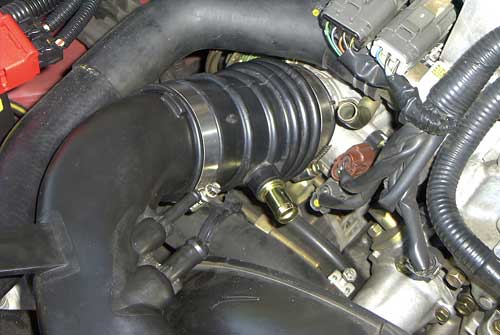
| 4) Release the four clips holding down the air box cover then loosen the hose clamp on the throttle body. Remove the bolt from the radiator fan shroud and the mounting tab nut from the radiator support. |
 |
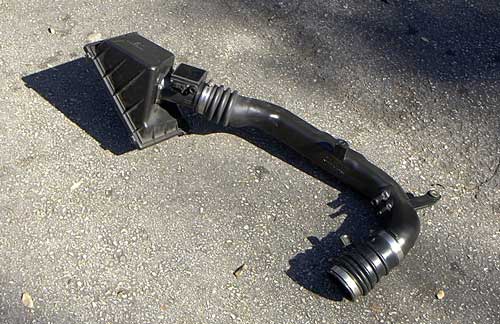
| 5) Remove the air intake tube, intake tube mounting tab, MAS and air box cover from the vehicle |
 |
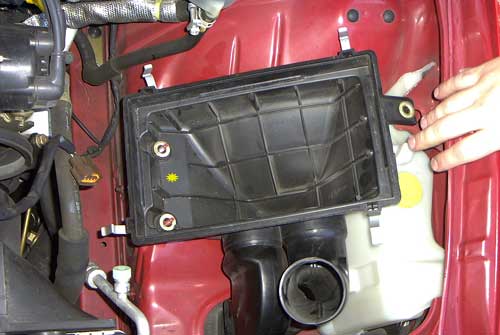
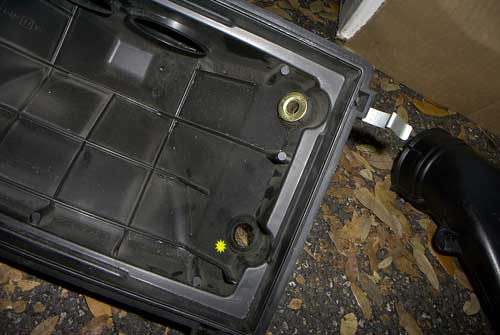
| 6) Loosen the two nuts and one bolt that secure the lower air box. Remove the stock lower air box form the vehicle |

 |
|
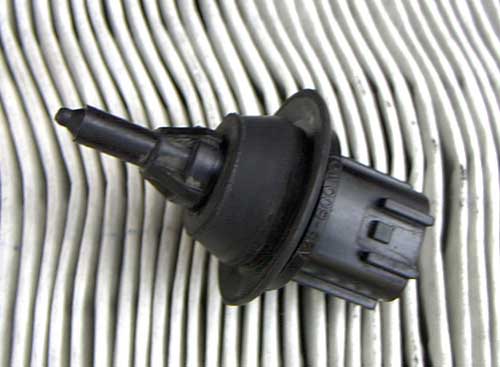
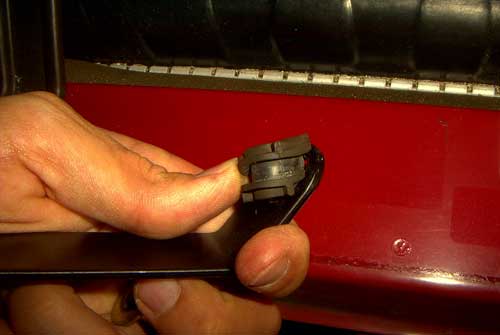
7) Remove the IAT sensor from the stock air box. On the
95-96, the IAT sensor is mounted with two bolts that thread through the
air box into a threaded backing plate on the inside of the air box, on the
97-98, it is a sensor that is held in with a rubber grommet. For the
95-96, keep the mounting plate and the two mounting screws for use with
the AEM MAS adaptor. Note: "AEM is now aware of the difference between the intake air temperature sensors on the 95-96 240SX models and 97-98 Nissan 240SX models, and is in the process of modifying the supplied bracket to accomodate later model 240SX owners. AEM does not recommend that customers modify their intake systems and that 97-98 240SX owners wait until the design change is completed before purchasing the system. The updated kit will be available shortly. If you have any questions, AEM recommends that you contact them directly at (310) 484-2322." The kit is perfect for 95-96 models and if you have later model guys give Aem a call for availability |
 |
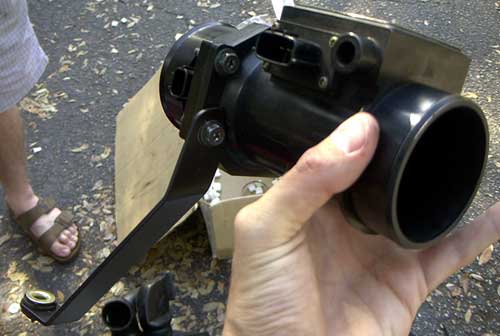
| 8) Loosen the four mounting bolts and remove the MAS form the stock air box cover. Remove the stock air inlet tube from the MAS. The picture is your finished product ready for the new install |
 |
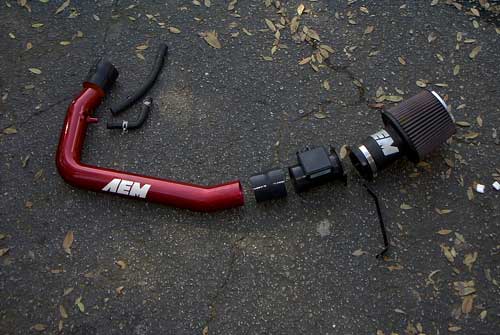
| 9) This is a
shot of the AEM intake parts ready to be installed Installation: |
 |
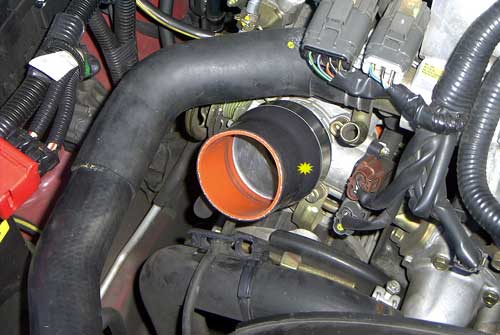
| 1) Install the 2.75" side of a reducer coupler onto the throttle body using a 2.75” hose clamp and install one 2.5” hose clamp onto the other end of the reducer coupler. |
 |
| 2) Slide the throttle body end of the AEM inlet pipe into the coupler on the throttle body. The throttle body end is the end nearest to the breather hose nipples on the AEM inlet pipe. |
 |
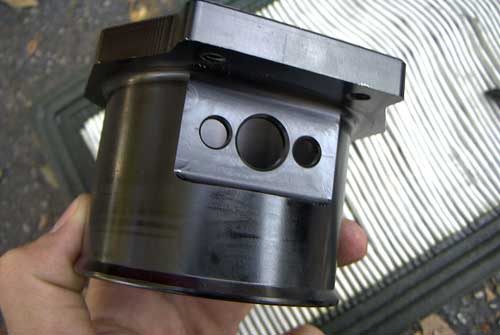
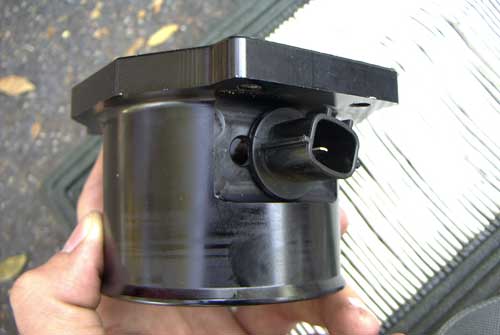
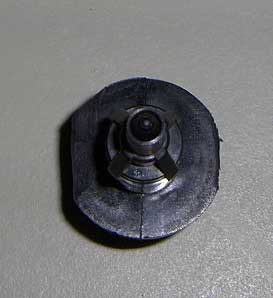
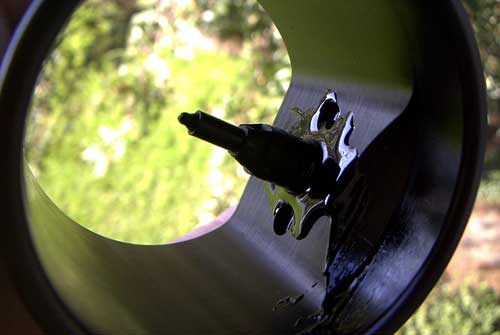
| 3) For the 95-96, install the IAT sensor into the AEM MAS adaptor using the original screws and backing plate, for the 97-98, I did a little modification. 1st picture is the IAT sensor on the 97-98 with the rubber grommet taken off. The 2nd pic is the AEM MAS adaptor. The 3rd pic is how the IAT sensor needed to fit so to ensure a nice fit, I trimmed the sides of it with my dremel to 2 flat edges (pic4). Then I wrapped electrical tape around the adaptor to ensure that the 2 mounting holes would be covered so no unfiltered air can get in there. Then I poked a hole in the tape in the center hole (biggest one) and pushed the sensor through and put a little epoxy glue (from a model airplane) on it to seal it up perfectly. (This sensor just measures Intake Air Temperature, so if you didn't want to go through these steps, just tape up the holes and tie strap the sensor somewhere under the hood so it is still connected but out of the way of moving components). The last picture shows the finished product. |

  |
| 4) Remove the rubber bushing assembly from the factory air box mounting tab. Remove the metal sleeve first, then the rubber piece will pull out. |
 |
| 5) Install the bushing and metal sleeve into the larger hole of the lower MAS mounting bracket. |
 |
| 6) Mount the AEM MAS adaptor to the MAS using the four supplied m6 socket head bolts and washers. position the adaptor so that the MAS and IAT sensor are oriented as they were originally, and mount the IAT sensor connector bracket to the MAS mounting hole that it was originally bolted to |
 |
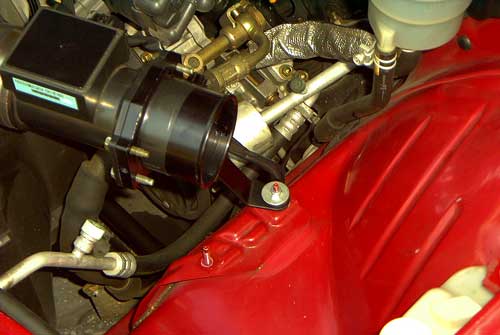
| 7) Install the reducer coupler onto the end of the AEM inlet pipe with a 2.5” hose clamp and install the MAS into the reducer coupler using a 2.75” hose clamp. The lower MAS bracket should line up with one of the lower air box mounting studs install a larger fender washer |
 |
| 8) Install the AEM air filter onto the MAS adaptor using a 2.75” hose clamp. |
 |
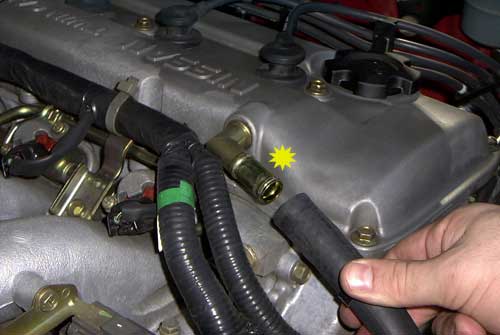
| 9) Connect the small breather hose to the small nipple on the AEM inlet pipe. Connect the lower larger breather hose to the lower nipple on the AEM inlet pipe. Use the original hose clamp. the lower larger breather hose will need to be cut for proper fitment. When cut just after the first bend in the hose the lower larger breather hose should line up with the lower nipple on the AEM inlet pipe. Replace the upper larger breather hose with the supplied 5/8” hose and the two 1” hose clamps |
 |
| 10) Hook back up the battery and then go feel that power increase! |
 |
|
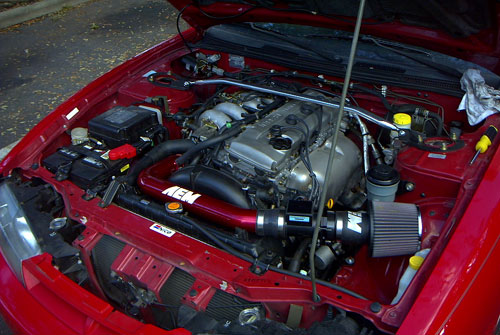
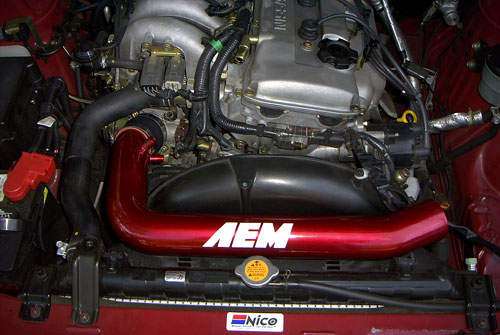
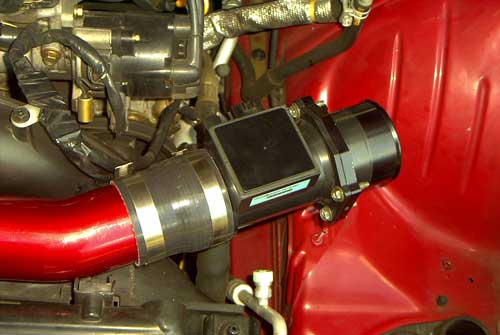
All I need to say is WOW! It looks great and when you have your foot down on the floor it sounds like I have some other crazy motor.... There comes a nice sounding 'roar' from under the hood! I definitly recommend this intake... You can feel the power increase and hear it. It also looks super under the hood! Some finished views (looking great!) (also scroll down to see dyno sheets of the aem intake)
|
|